What is Firebase?
Firebase is a Google product, and according to me, it essentially acts as a wrapper over Google Cloud, simplifying the development process for web application developers by concealing much of the complex cloud related jargon.
I could be totally wrong about the above description, since I’ve only tested Firebase for one specific use case: deploying a static website! And to be honest, the process was so seamless that I didn’t feel the need to explore other hosting options! So lets see what you have to do to deploy your own website for free!
- Login to firebase using your google account and create a new project.
- In your local machine, use the following command to install firebase-tools to communicate directly with firebase from your console.
npm install -g firebase-tools- If you don’t have
npmalready, download and install npm, I will suggest using the prebuilt-installer because other options can give you some unnecessary headaches.
- If you don’t have
- After the installation is done, login to firebase from the console
firebase loginIt will open new window in your default browser and ask you to login to your google account (hopefully the same account you used for firebase)

- After successful login,
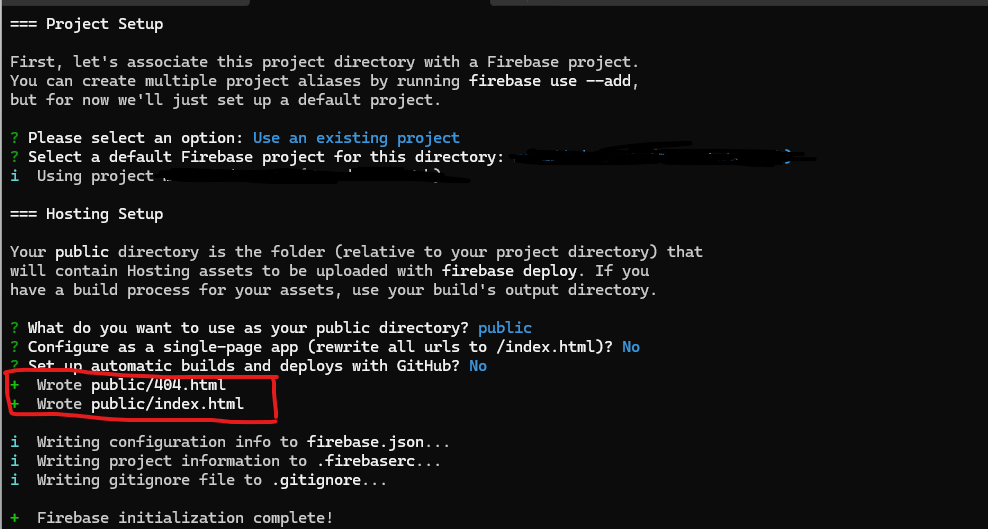
cdto an empty directory which will act as a deployment/sync folder from your local machine to firebase (I personally use folder path like~/web-host/firebase/my-project-nameto keep things clearly separated). 1. Use the following command to initialize your folder for hosting:firebase init hostingFollow the widget to complete the initialization, when asked select the
existing projectoption, since you already created the project in the 1st step. -
After you are done with your setup, you will have a public folder inside your project folder which will have two default files
index.htmland404.html. You can use these two files to test your setup.
- Test your website locally using this command:
firebase serve- You will see message like this: ` Local server: http://localhost:5000`, go ahead and browse this path. You can modify these files to check whether these files are being served properly.
- Next use the following final command to upload and deploy your static website to firebase:
firebase deploy - After the completion of your deployment you will get a hosting URL of this form: https://myprojectname.web.app and from here on, you can update the content of your local public folder then run the above command to publish them to internet!
-
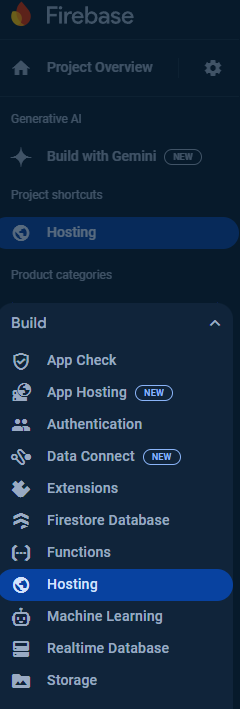
Lastly, you can open firebase.com, select your project then from the left side panel click, Build -> Hosting to see information related to your hosting.


Share this on →